Color Warper
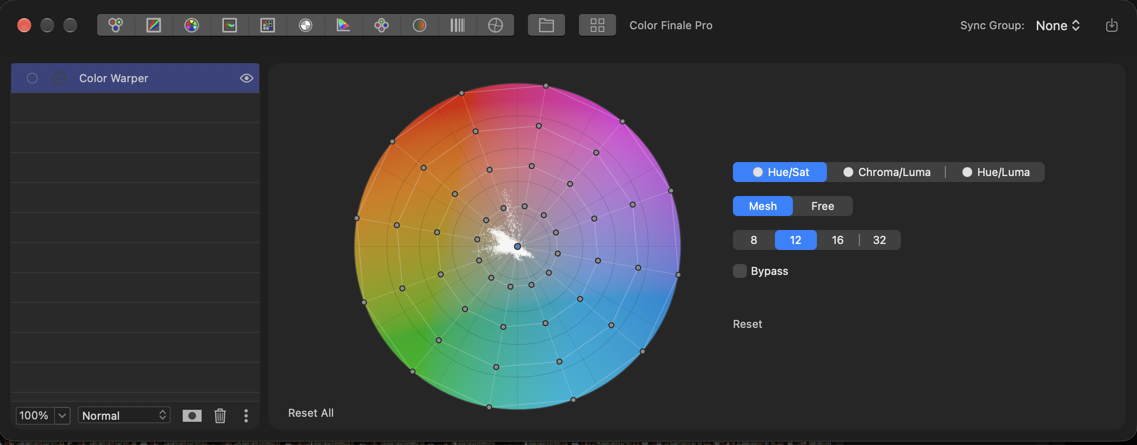
The Color Warper reshapes colors by dragging them on a color map. Grab a color and pull it toward the color you want: the colors around it follow smoothly, and colors farther away stay where they are. Use it to move skin tones, push foliage toward a different green, separate two similar hues, or pull a color cast back to neutral, all without drawing masks.
Planes
The segmented control at the top selects one of three planes. Each plane maps colors on two axes, so each one is good at a different job:
- Hue/Sat — a color wheel. Hue runs around the wheel and saturation runs from the neutral center out to the edge. Drag a point around the wheel to shift its hue, or in and out to change its saturation.
- Chroma/Luma — color intensity across, brightness up. Use it to change how saturated colors are at different brightness levels, for example to calm saturated highlights or richen the shadows.
- Hue/Luma — hue across, brightness up. Use it to brighten or darken specific hues, such as lifting skin or deepening a blue sky.
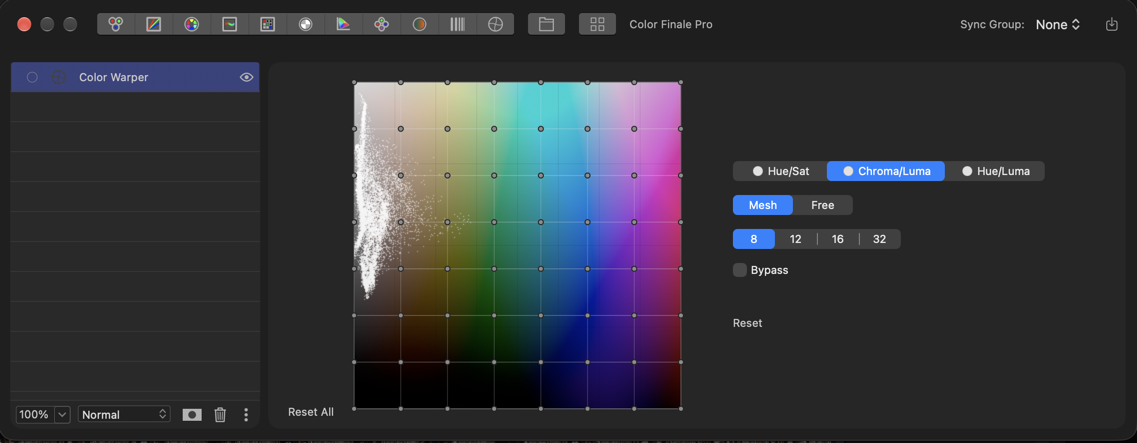
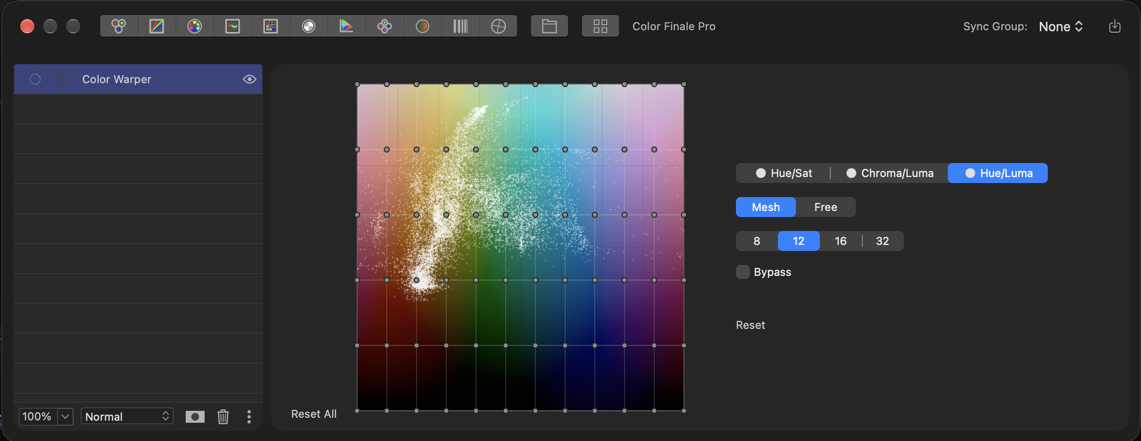
All three planes work on the same image at the same time. Each plane keeps its own edits; switching planes does not reset anything.
A light next to each plane name shows its status: plain when the plane is untouched, green when it has edits, and a stop icon when it has edits but is bypassed.
Frame Colors
The colors of the current frame are drawn as a cloud of dots on the plane. Use the cloud to find the colors you want to move: skin tones, for example, form a clear streak on the Hue/Sat wheel. As you drag, the dots move live, showing where the colors of your image end up.
Mesh and Free Modes
The Mesh / Free control selects how you edit the plane. Each plane keeps a separate mesh and free set of edits, and the mode you choose decides which one is used.
Mesh
The plane is covered by a grid of points. Drag any point to move the colors at that spot. Points you have moved stay pinned in place; the points between them bend smoothly to follow. A single drag fades out gradually in every direction, so it never creates a hard edge.
- Drag a grid point to warp the colors there
- Option-Click or double-click a point to return it to its original position
- On the Hue/Sat wheel, the center point stands for neutral grey. Drag it to tint all low-saturation colors at once, such as to correct a color cast. Option-click or double-click it to reset it
Points cannot be dragged past their neighbors, so the grid never folds over itself.
The 8 / 12 / 16 / 32 control sets the grid density. A coarse grid gives broad, smooth changes; a fine grid lets you target narrow color ranges. Changing the density keeps your edits, carried over onto the new grid. Each plane remembers its own density.
Free
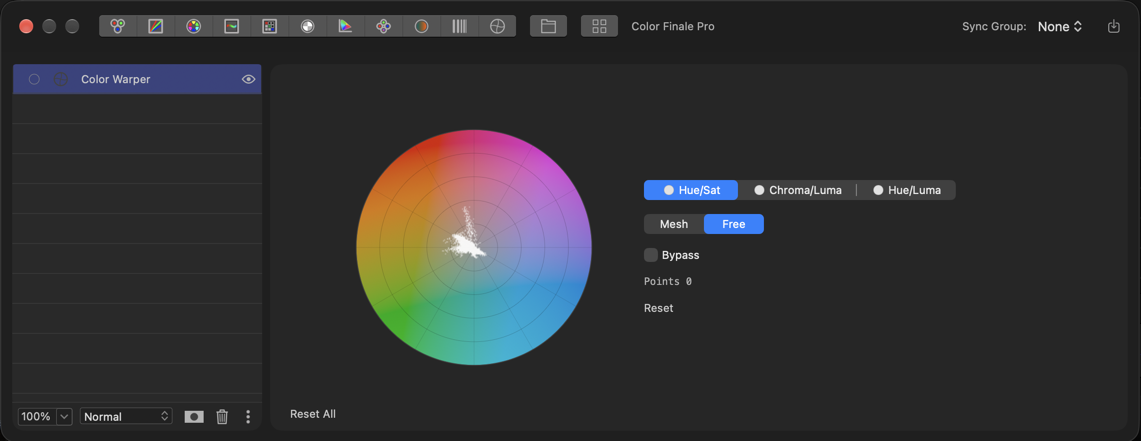
Place your own control points anywhere on the plane.
- Click an empty spot to add a point, and drag to move the colors there
- Each point has two handles: an open ring marks the source color, and a filled handle marks where that color is moved to. Drag the filled handle to change the move, or drag the ring to pick a different source color
- Scroll over a point to change its radius: how far around the source color the change reaches. The dashed circle shows the radius
- Double-click a point to cancel its move without deleting it
- Option-Click a point to delete it
Free mode suits a few precise moves, such as shifting one skin tone, without the full grid.
Readout
The readout below Bypass shows the selected point’s change. Depending on the plane, it shows the change in hue (in degrees), saturation, chroma, or brightness. In Free mode it also shows the point’s radius and the number of points on the plane. For the center point on the Hue/Sat wheel it shows the tint.
Bypass and Reset
- Bypass — turns off the current plane while keeping its edits. Use it to compare with and without one plane’s changes
- Reset (below the readout) — clears the edits of the current plane in the current mode
- Reset All (lower-left corner) — clears every plane, in both Mesh and Free modes
Every edit can be undone.