External Masks (FCP Auto Mask)
Final Cut Pro’s built-in Auto Mask can be used as an external mask inside Color Finale Pro, so any Color Finale layer or effect can be restricted to the masked subject — isolated people, for example.
The workflow: stack a duplicate of your clip directly above the original, let the bottom copy generate the Auto Mask, and feed that mask into Color Finale on the top copy through the Accept Mask template’s Drop Zone.
Step 1 — Duplicate the clip directly above itself
- Select the clip in the timeline.
- Press ⌘C to copy it.
- Press ↑ (Up Arrow) to jump the playhead to the clip’s start edit point.
- Press ⌥V (Paste as Connected). The copy is pasted as a connected clip starting at the playhead, so it lands exactly on top of the original.
- Press ↓ (Down Arrow) to move the playhead back to the beginning of the clip.
Note the clip-start mark — the small “L” shape in the bottom-left corner of the viewer. It confirms the playhead is parked on the first frame of the clip. You will need it again in Step 6.
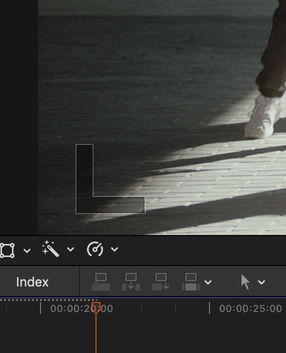
The second (bottom) clip generates the mask.
Step 2 — Apply Auto Mask to the bottom clip
- Select the bottom clip.
- Open the Effects browser, go to the Masks and Keying category, and apply Auto Mask.
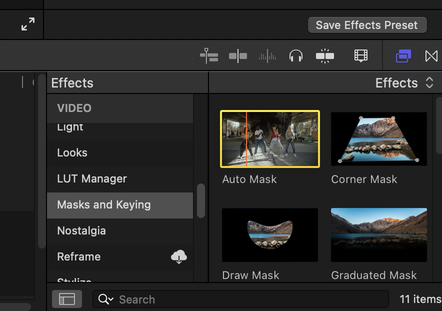
Step 3 — Choose a mask category and check the result
- In the Inspector, select the Auto Mask effect.
- Click the person icon on the effect’s row and choose Auto Mask (“Automatically mask items found in your footage”).
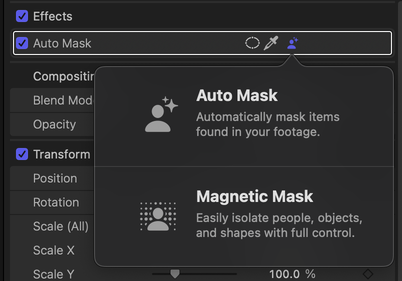
- Pick a category — People, for example — and check that the mask looks as expected. Here the people are cleanly isolated and shown with a red overlay.
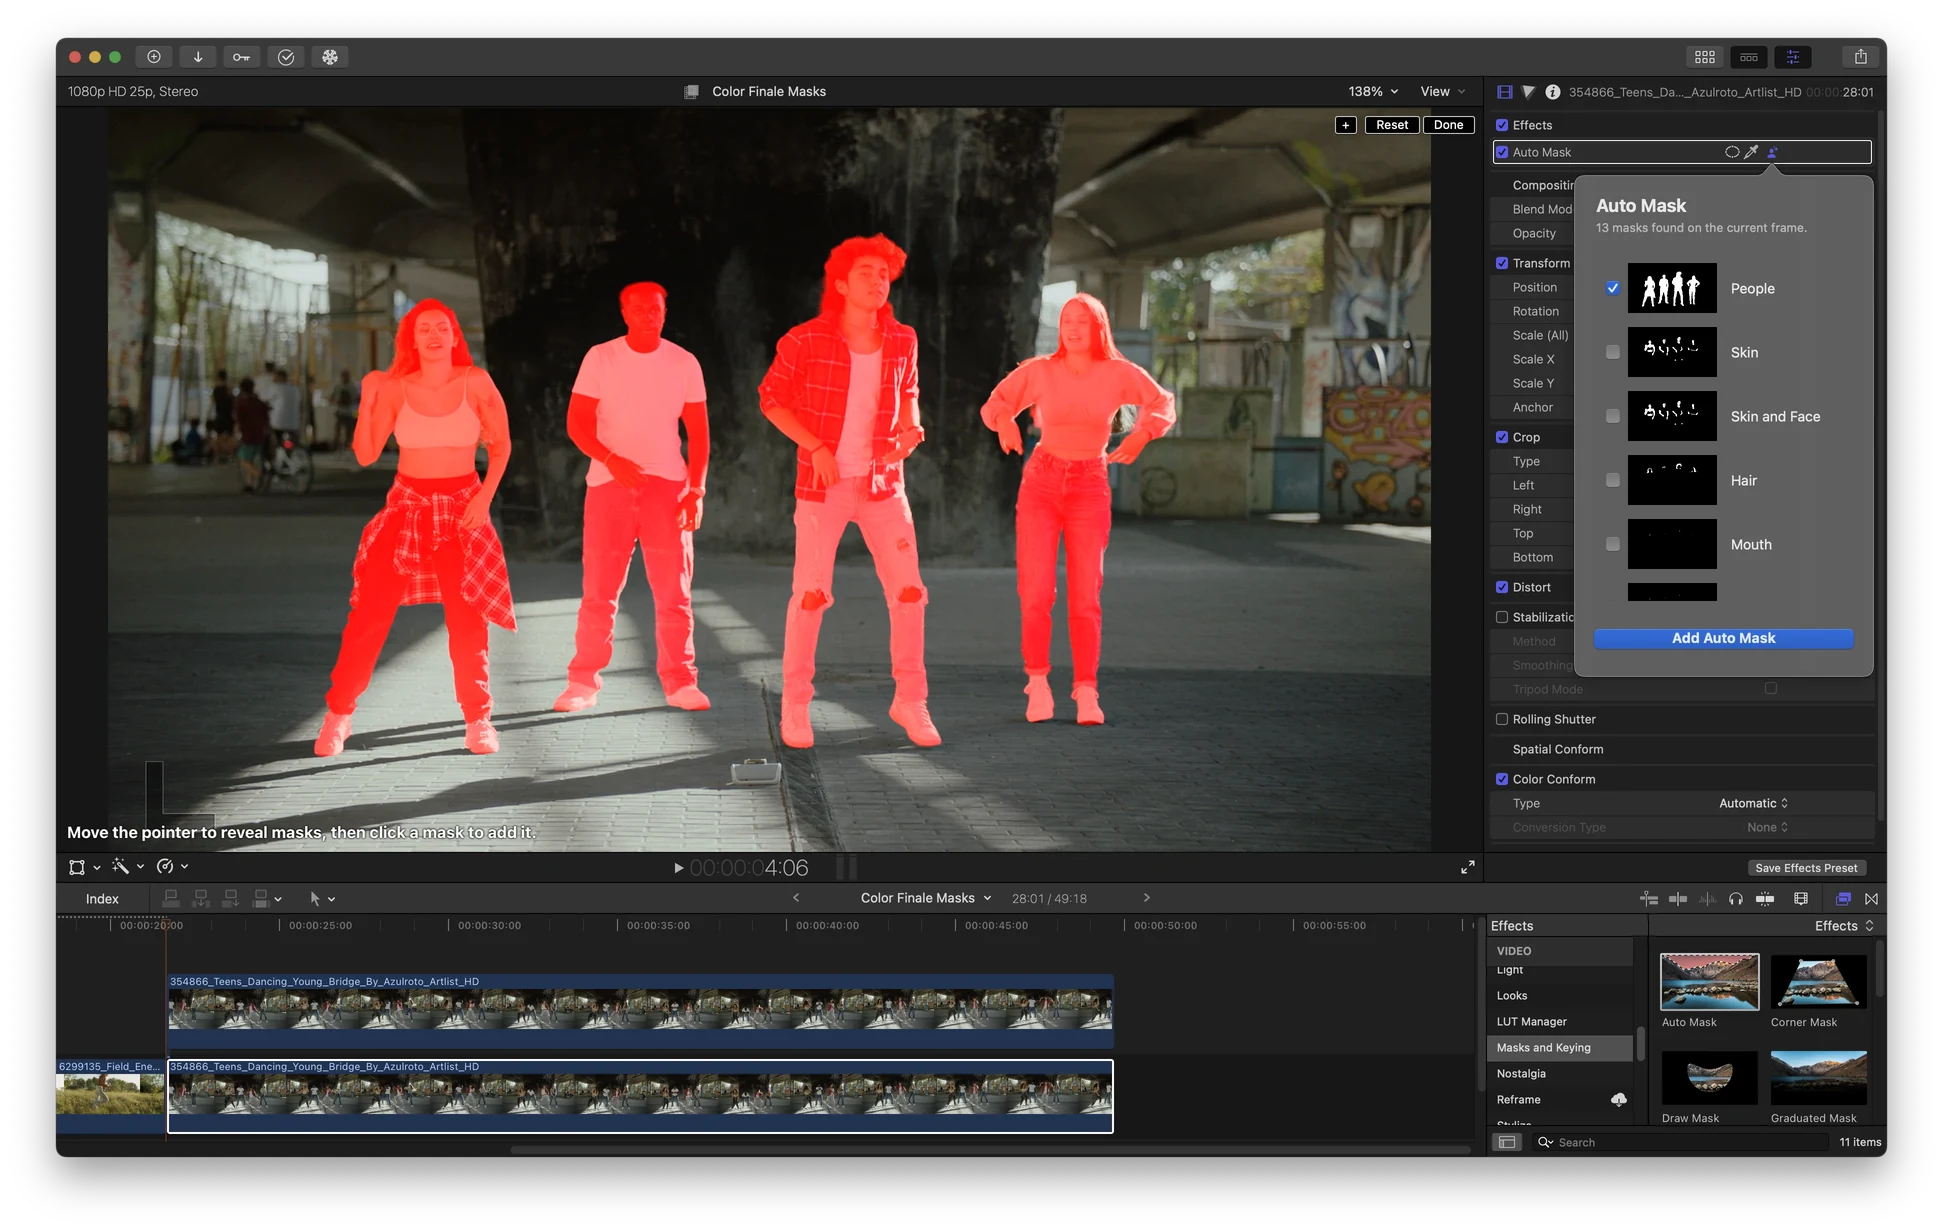
Step 4 — Apply the Color Finale Accept Mask template to the top clip
- Select the top clip.
- In the Effects browser, open the Color Finale category and apply ColorFinaleProAcceptMask — the motion template that lets Color Finale receive an external mask.
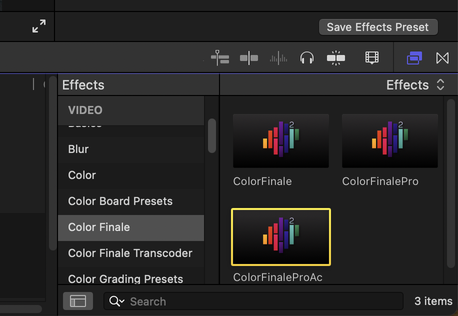
Step 5 — Connect the mask clip through the Drop Zone
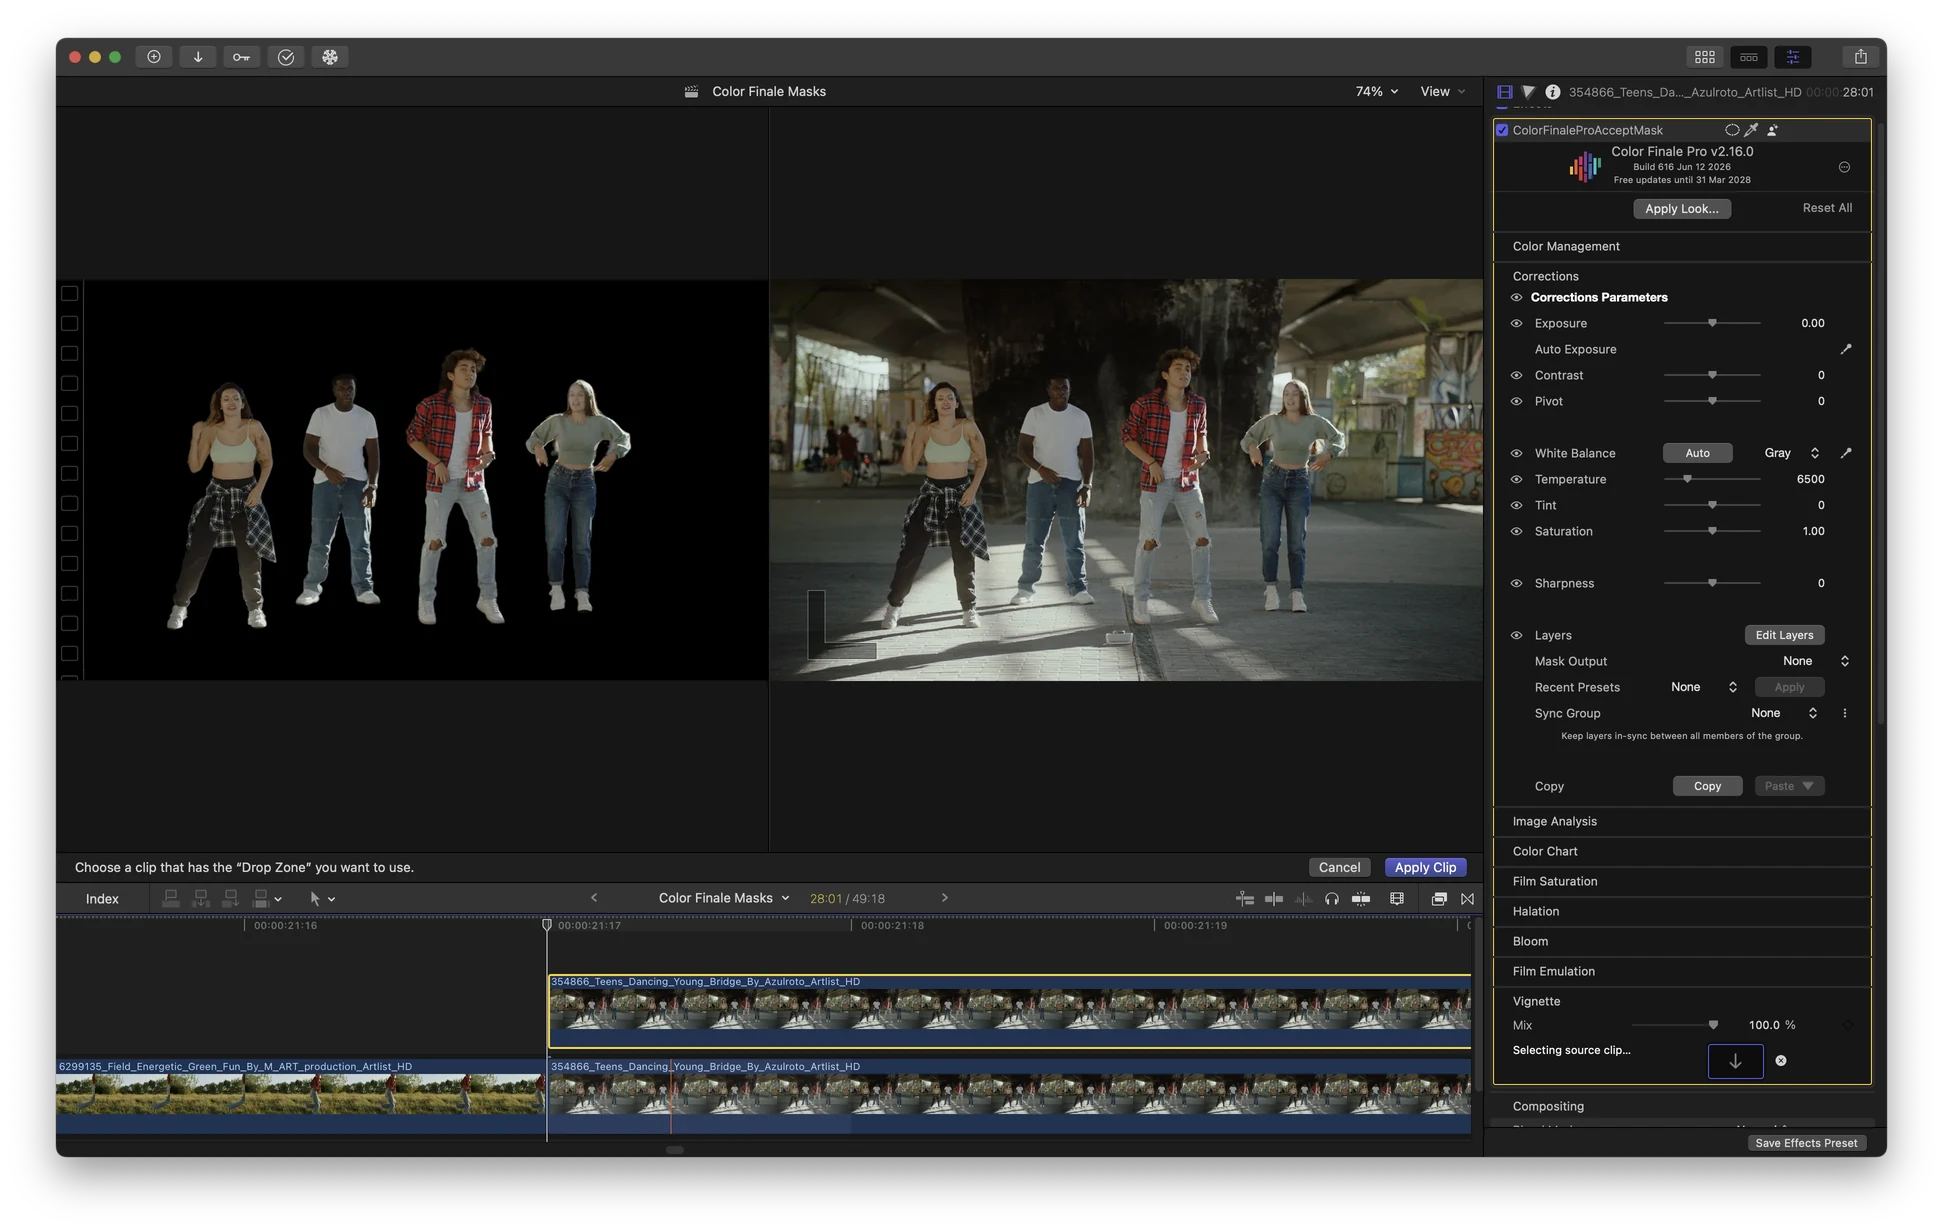
At the bottom of the Color Finale inspector, click the Drop Zone well and select the clip that contains the mask — the bottom clip with Auto Mask applied.
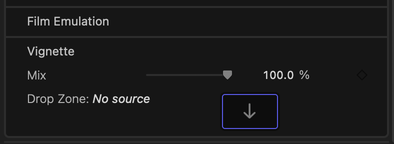
Step 6 — Align the mask frame with the playhead
- Select the bottom clip.
- Park the playhead at the beginning of the clip — watch for the clip-start mark from Step 1.
- Zoom the timeline all the way in.
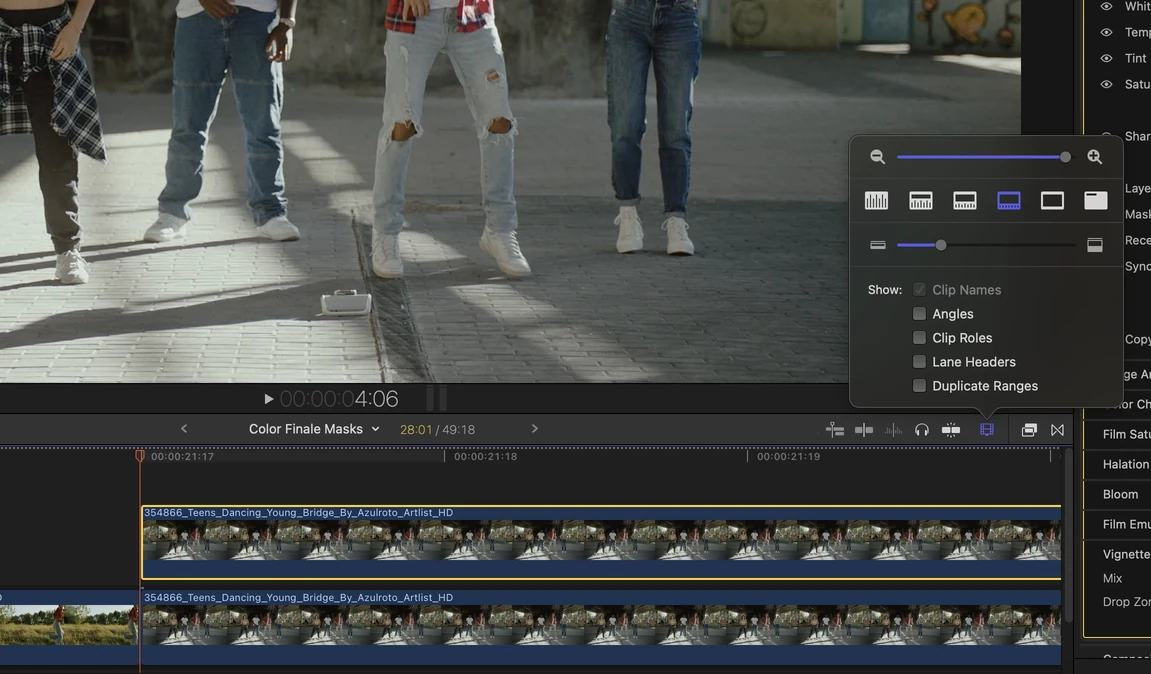
- Note the small red cursor in the timeline. It marks the frame Final Cut Pro has assigned as the mask. Parked on the first frame and zoomed in, you can see immediately whether the red cursor lines up with the playhead.
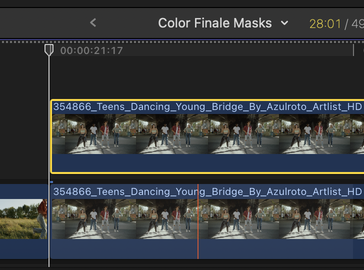
- In the two-up view — the mask clip on the left, the graded clip with Color Finale on the right — click Apply Clip.
Step 7 — Use the mask on a Color Finale layer
- In the Color Finale inspector, click Edit Layers.
- Add an effect layer — Shuffle, for example.
- Add a mask to that layer, then click the external mask button (the right-most button in the Masks toolbar) and choose the mode you need — Contour, for example.
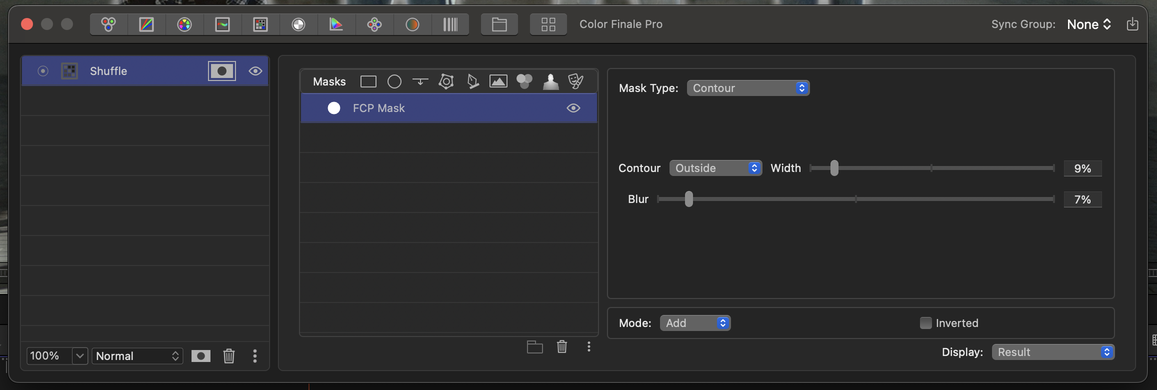
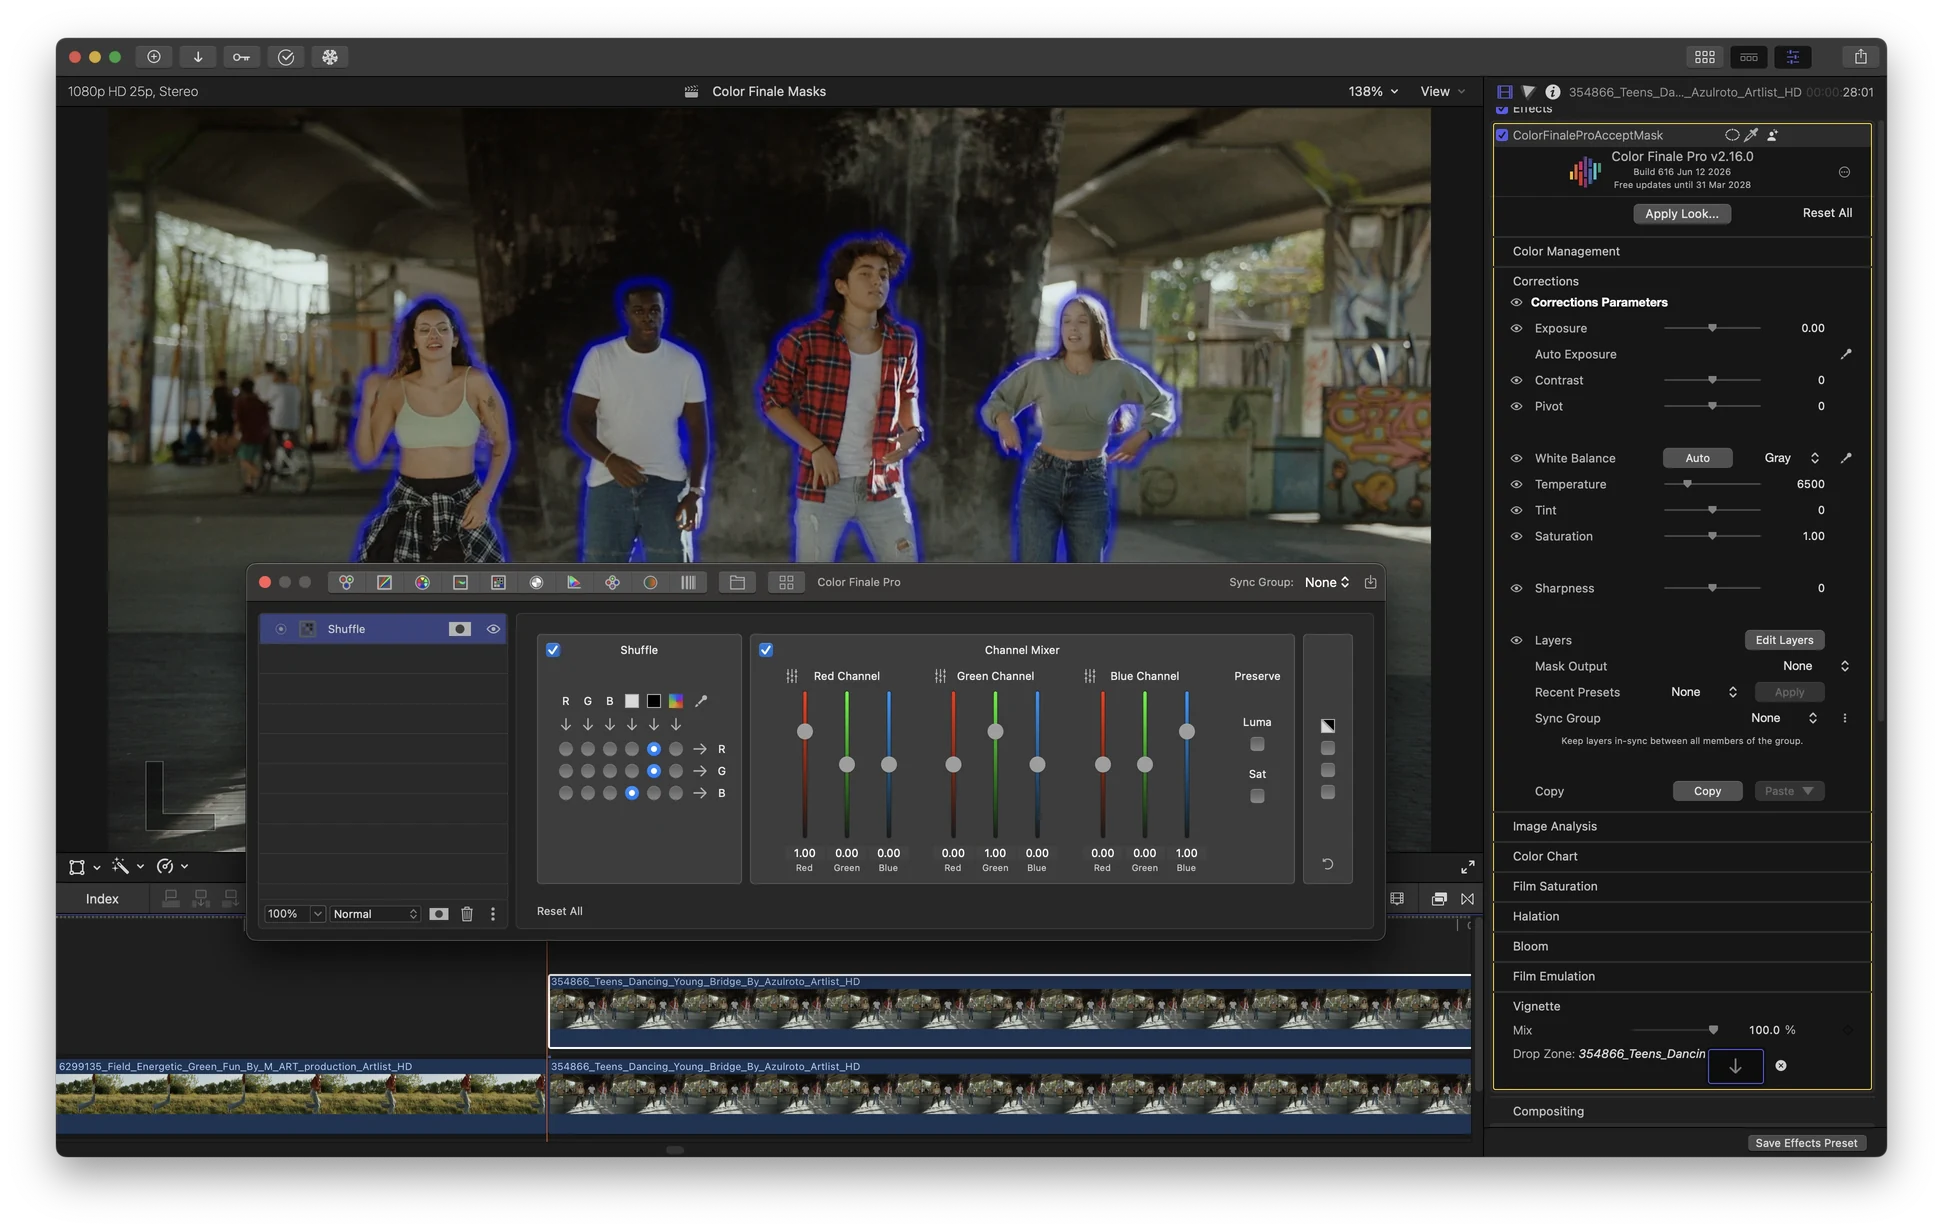
- Deselect the mask to return to editing the effect — Shuffle, in this case — and set it to output full blue.
The contour mask for this layer, driven by the external Auto Mask, is now rendered in blue around the subjects:
Recap
The bottom clip generates the Auto Mask, the top clip runs Color Finale with the Accept Mask template, and the Drop Zone links the two. The mask frame has to sit exactly on the playhead — park at clip start and zoom in to verify. Any Color Finale layer can then use the mask through the external-mask button.