HSL Mask
In the Color Finale Inspector, select Edit Layers, then create a layer by clicking the mask icon at the bottom of the Layers sidebar. A mask icon appears next to the layer.
- Click the mask icon and the Masks panel will appear.
- In the Masks panel, select the HSL Mask icon which is the rightmost icon. In the panel’s masks list appears an entry for the HSL Mask and in the controls panel you can now fine-tune the mask and change the Hue, Saturation and Lightness of the areas that will be masked.
For Masked Source, you can select the Unmanaged input image, the previous Color Finale Layer, the Color Managed input image or the Primary Corrected image.
• When you select the previous Color Finale Layer as a source, the HSL mask will be affected by all the layers below it.
• When you select the Color Managed image, the HSL mask will be filtered by the selected color profile.
• When you select the Primary Corrected image, the mask will be filtered by the Corrections and White Balance settings in Color Finale.
Selecting values
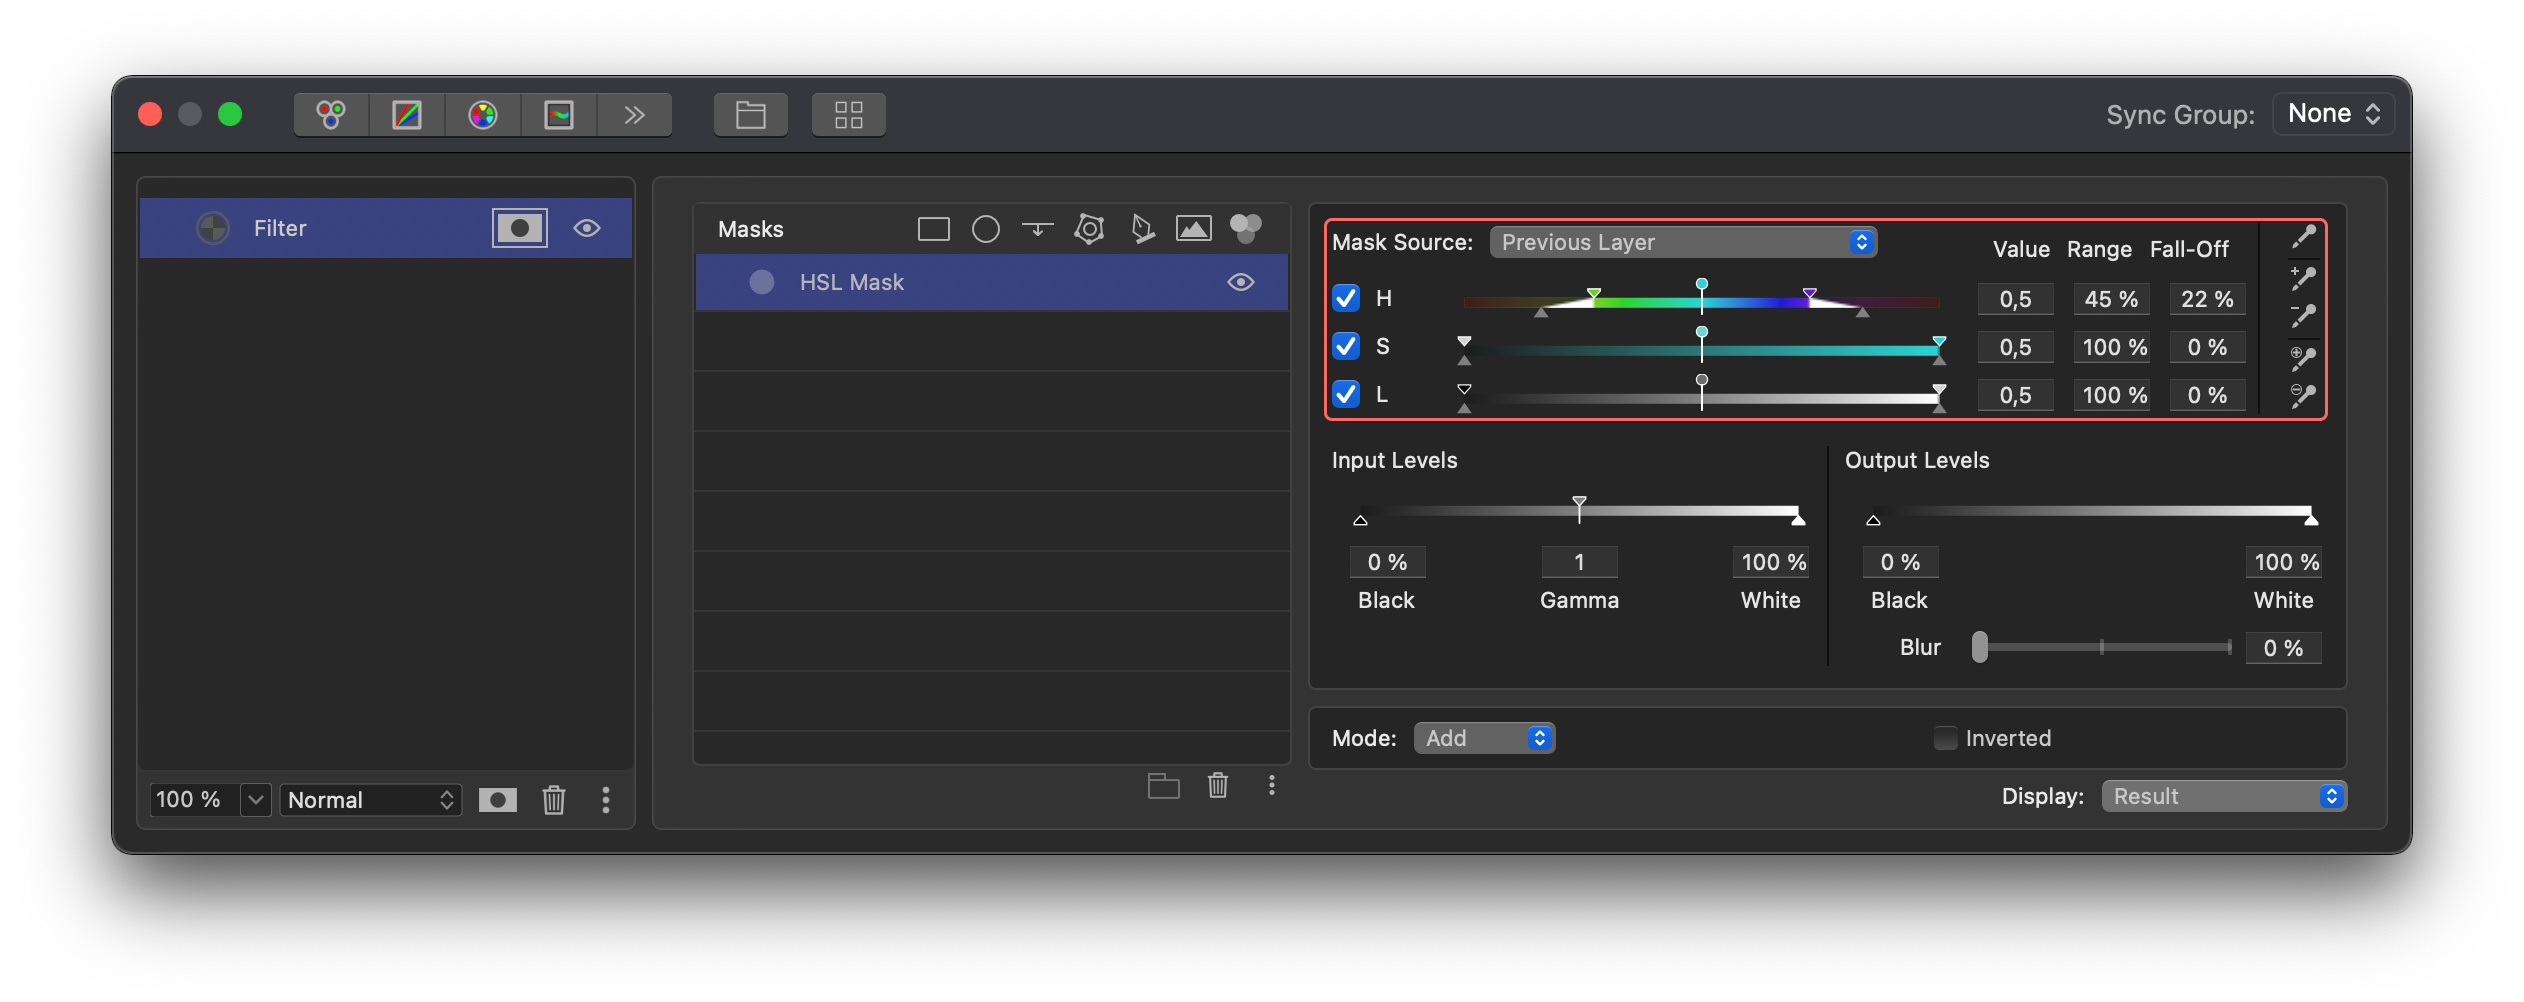
To select the HSL values that will make up the mask, the easiest is that you start with the pipettes.
Click on the pipette at the top next to the Value - Range - Falloff sliders and select a color in the Viewer to quickly make a selection of the HSL values you would like to adjust.
With the two pipettes below the first go into the Viewer and select colors you want to add to (the pipette with the plus next to it) or subtract from (the pipette with the minus next to it) the ones you initially selected. This adds to or subtracts from the Range of all three HSL parameters at once.
Using the next two pipettes do the same to add to/subtract from the Falloff of all three HSL parameters at once.
If you find that the pipettes don’t give you enough control or you want to select values manually, tune the mask by dragging the controls across the sliders for each of the HSL parameters.
• The control pins (the disc with the vertical line) in the middle of the Hue - Saturation - Lightness controls represent the value you selected with the first pipette.
• The triangles at the top represent the spread or range of adjacent values and the bottom triangles represent the feathering or falloff.
To select the desired Hue, this is what you do:
Position the mouse on the topmost slider’s control pin and start dragging until the color beneath the pin has changed to the value you need.
Place the mouse on one of the top triangles of the Hue slider either side of the pin and drag them. They will move towards each other in a synchronized way, i.e, the pin will always stay in the center.
Place the mouse on one of the bottom triangles and drag them. They too will move towards each other.
When you are happy with the Hue values you have selected or fine-tuned this way, move on to the next slider for the Saturation and then to the last for the Lightness values.
Adjusting mask opacity
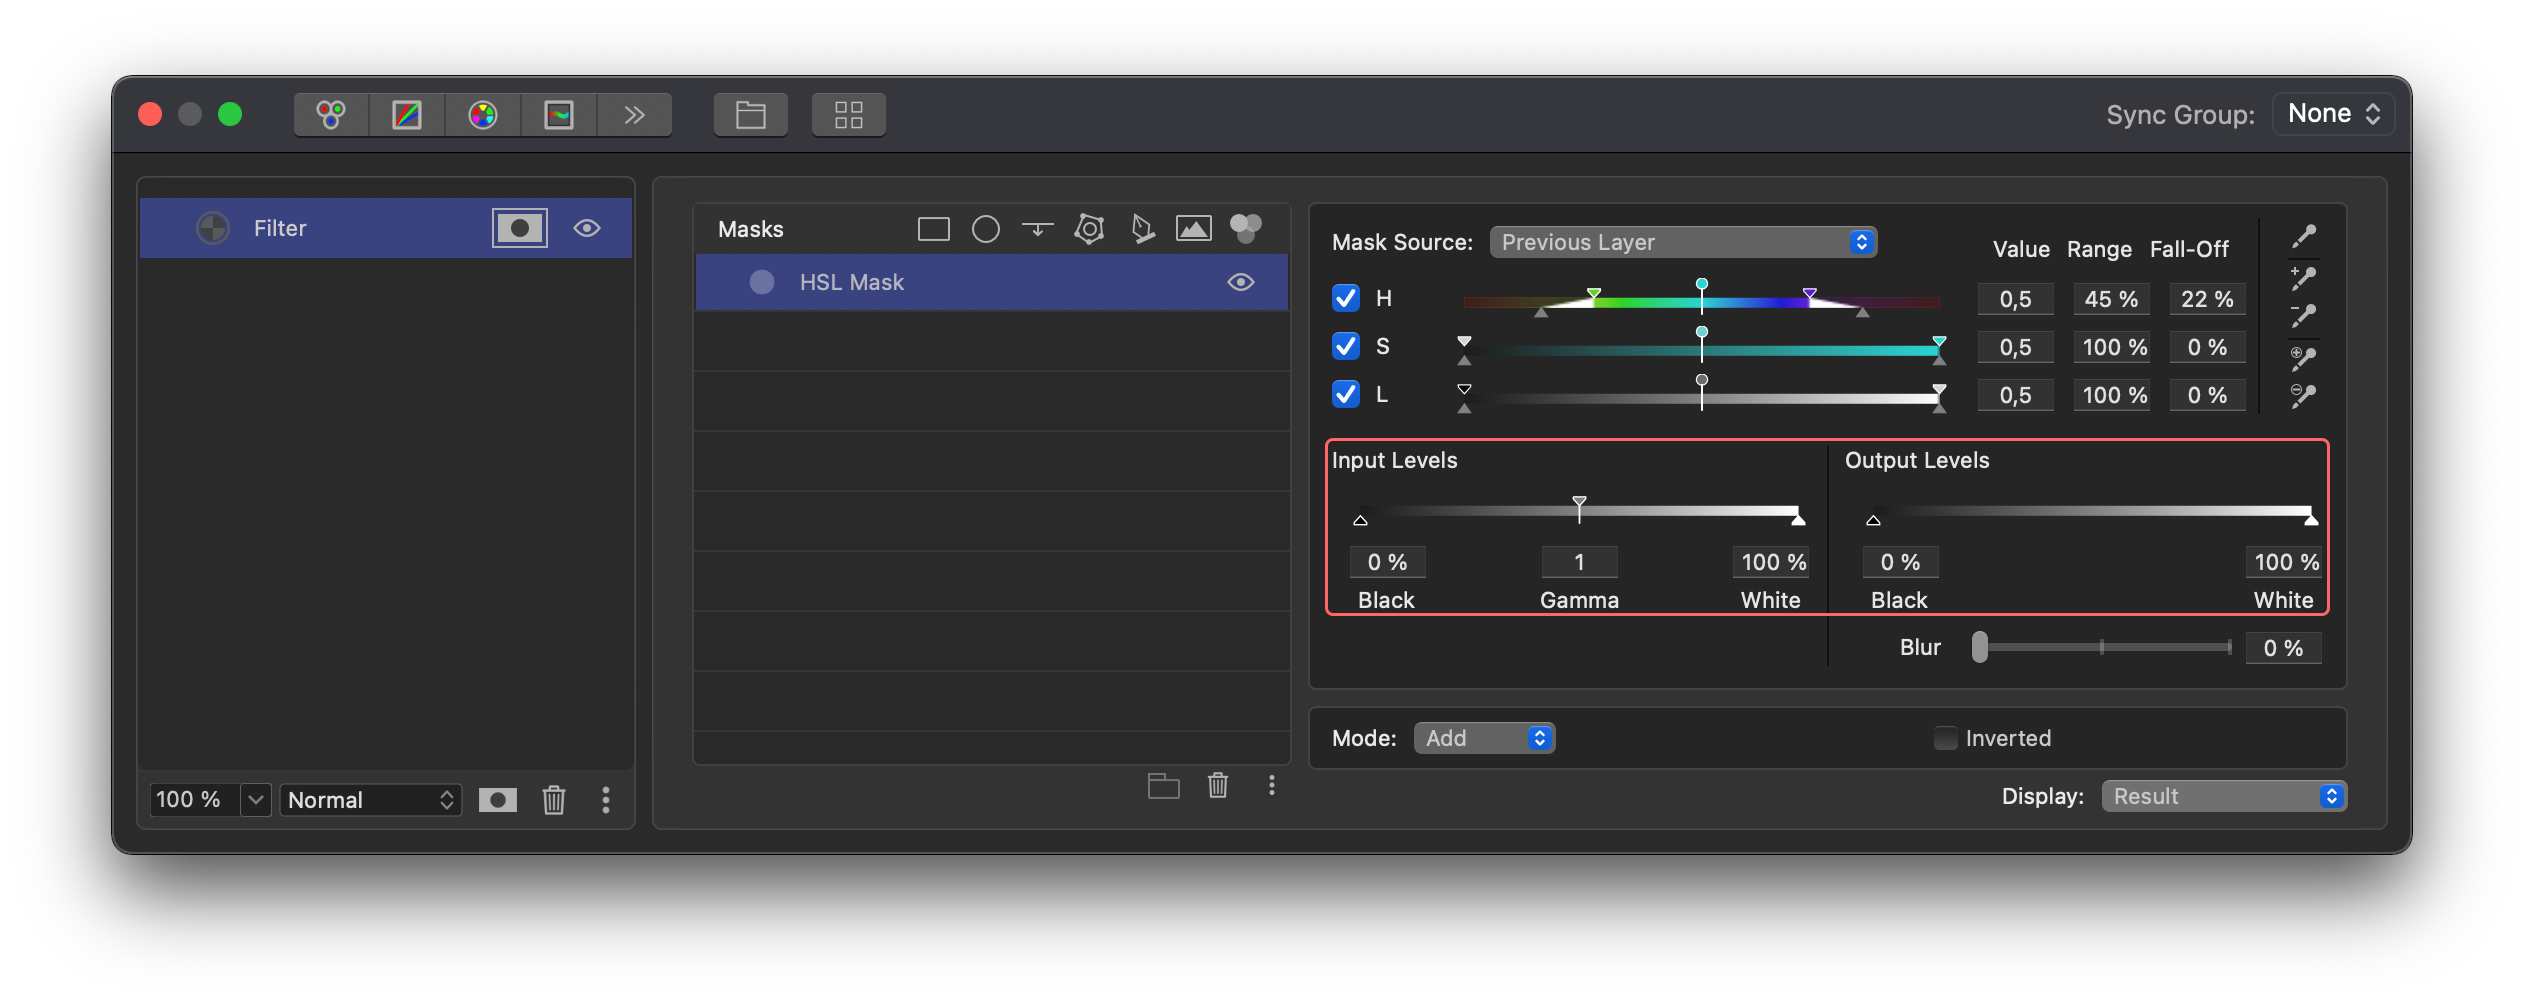
The Input and Output sliders allow you to adjust the levels of the mask, i.e. they provide for a way to introduce more gradations between black (nothing selected) and white (completely selected). To use the Input and Output sliders, prior to manipulating them it is best to set the Display mode to Composite Mask. This allows you to see results better than the other modes.
Adjusting opacity based on the input image — Input Levels
To reduce the area the mask will have an effect on based on the midtones, drag the Gamma triangle to White and vice versa.
To reduce the masked area based on shadow areas or the black point, drag the Black triangle towards White.
To enlarge the area the mask will have based on the white point or bright areas, drag the White triangle towards Black.
Adjusting opacity on the mask itself — Output Levels
To adjust the mask’s gradation based on the black and white values of the mask itself, drag the Black and White triangles along the slider.
Blur
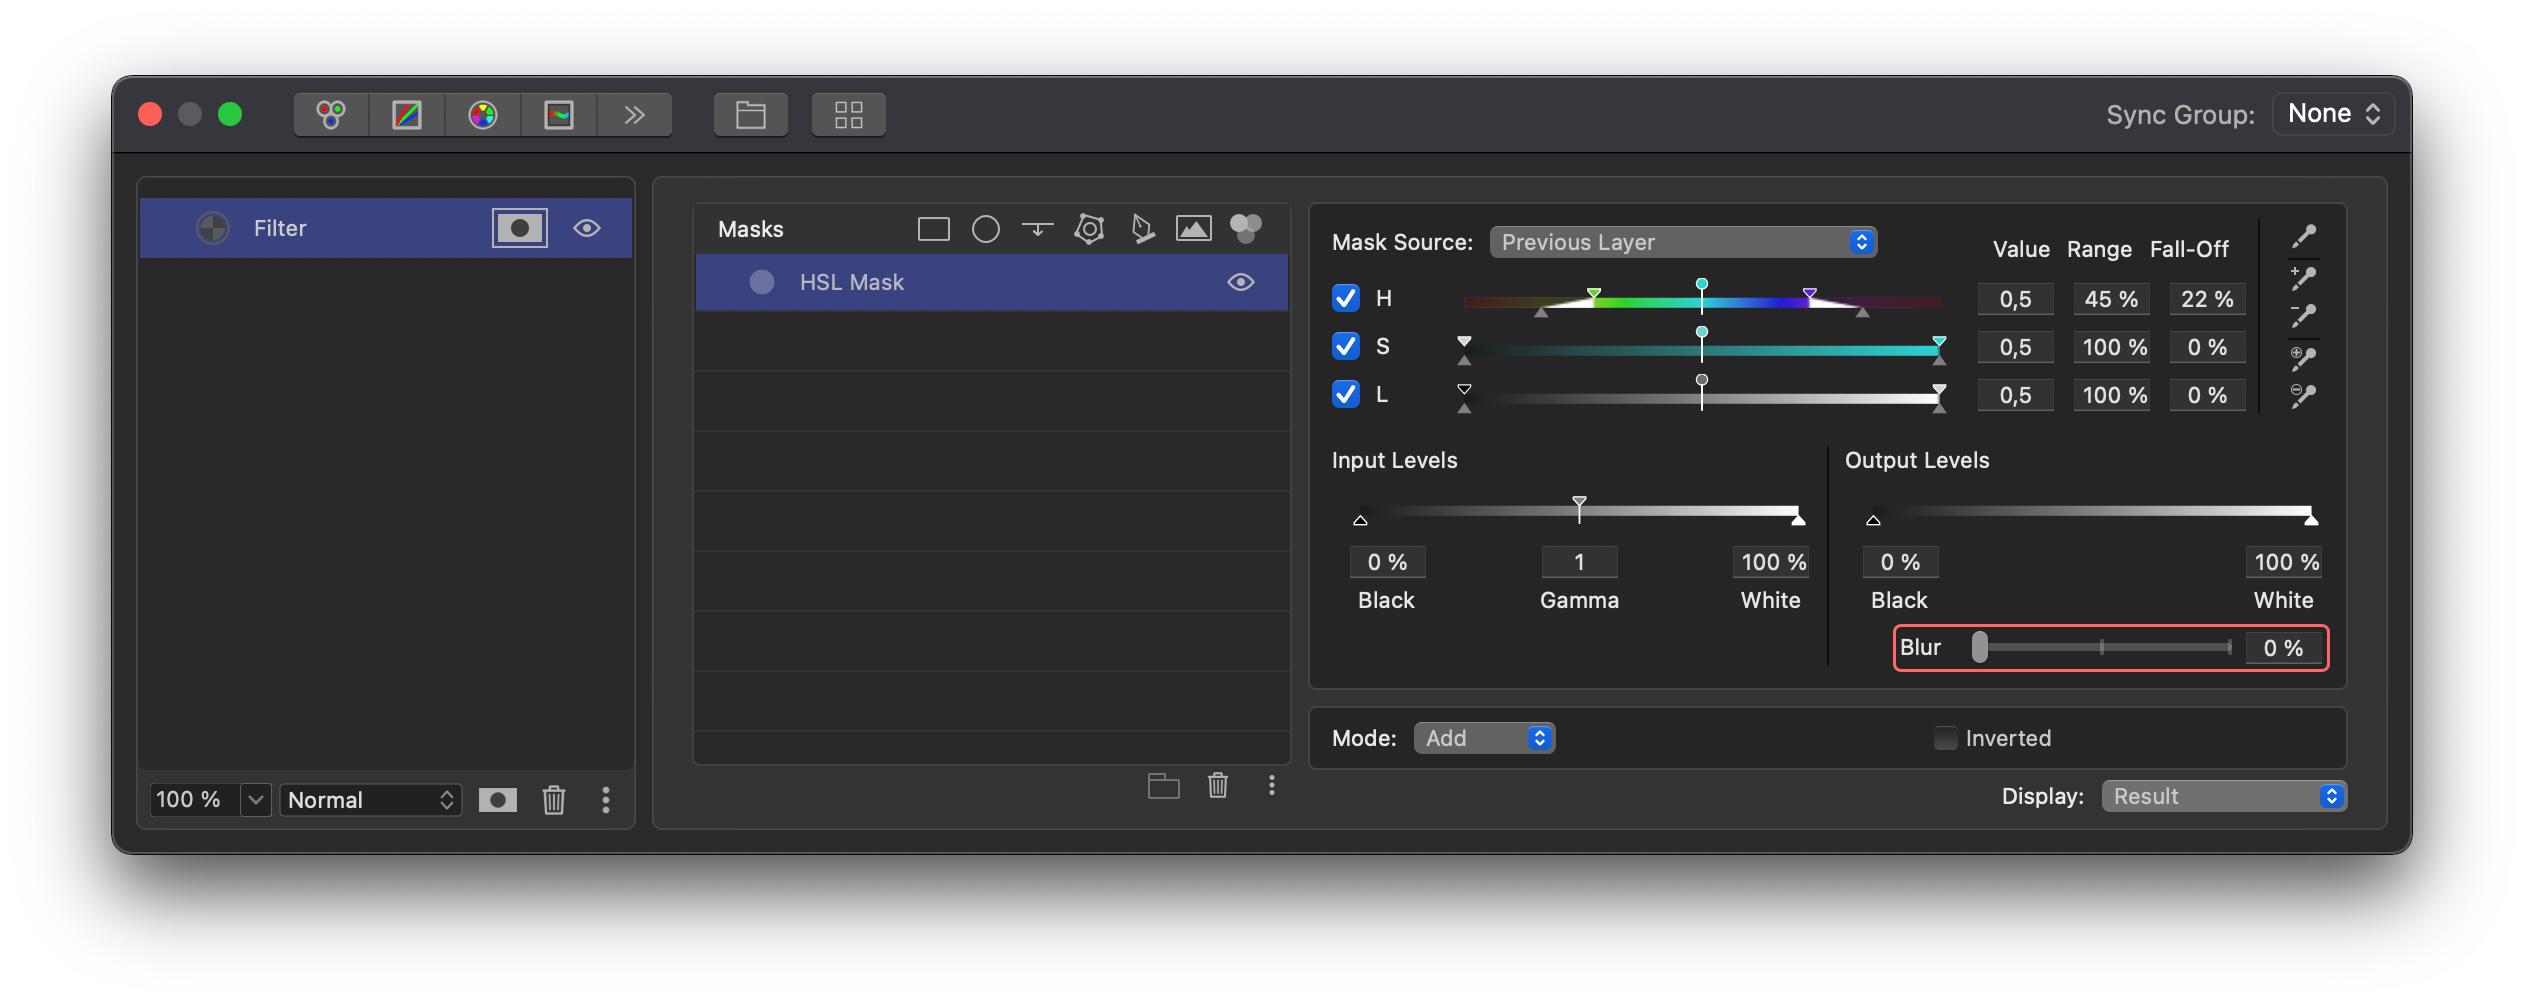
With the Blur slider you make the selected area less sharply defined, allowing for a more natural blending of the adjustment.
Note
the area affected 100% by the mask will become smaller as you increase the blur amount.Modes
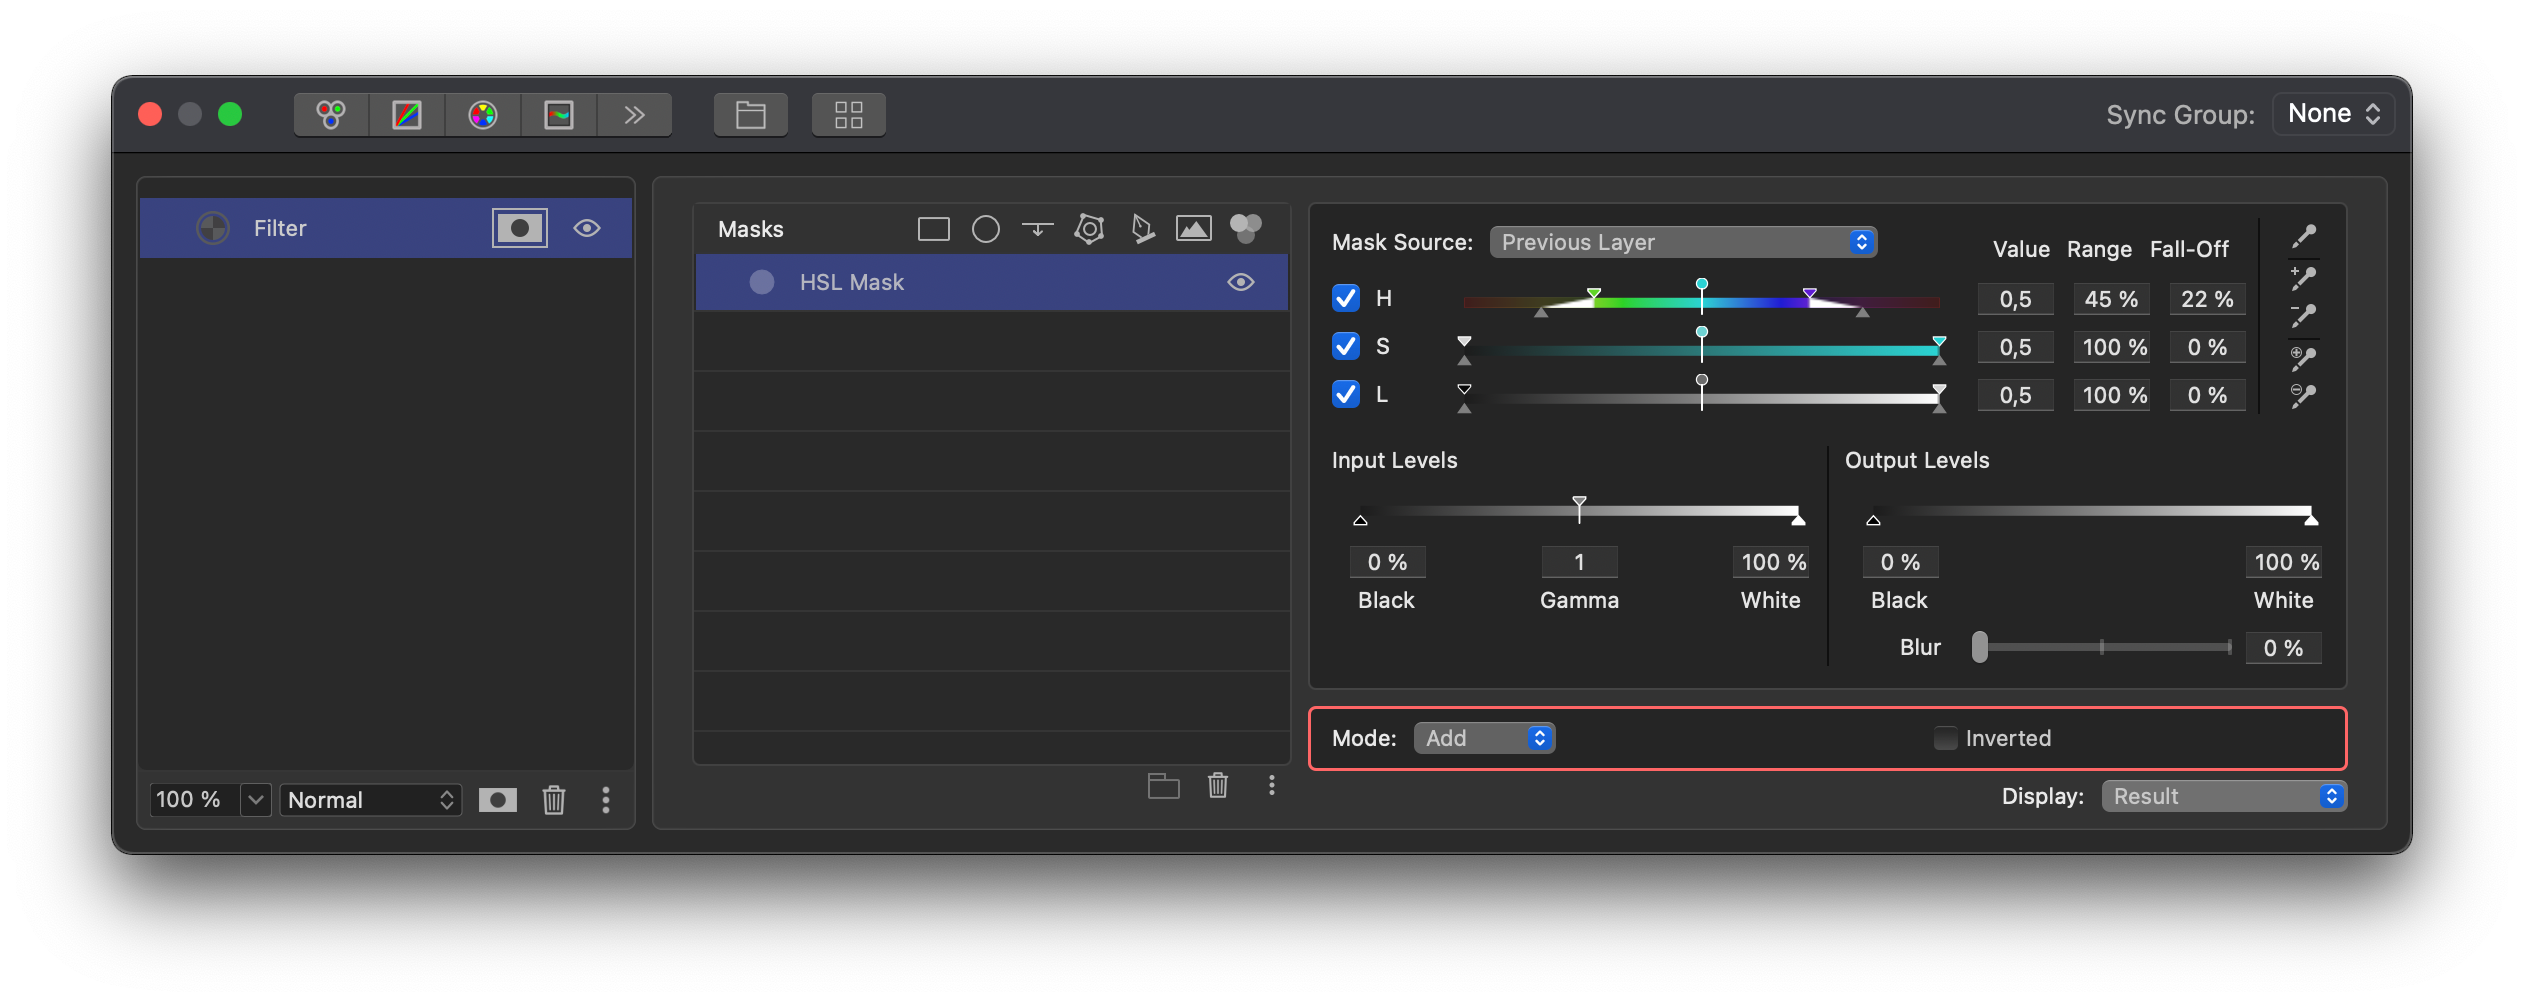
Use the Mode dropdown to Add, Subtract or Intersect results. These are particularly effective when used with another mask and/or a Layer underneath. For example, Subtracting a color can stop the bleeding from increasing the saturation of that color in the lower Layer.